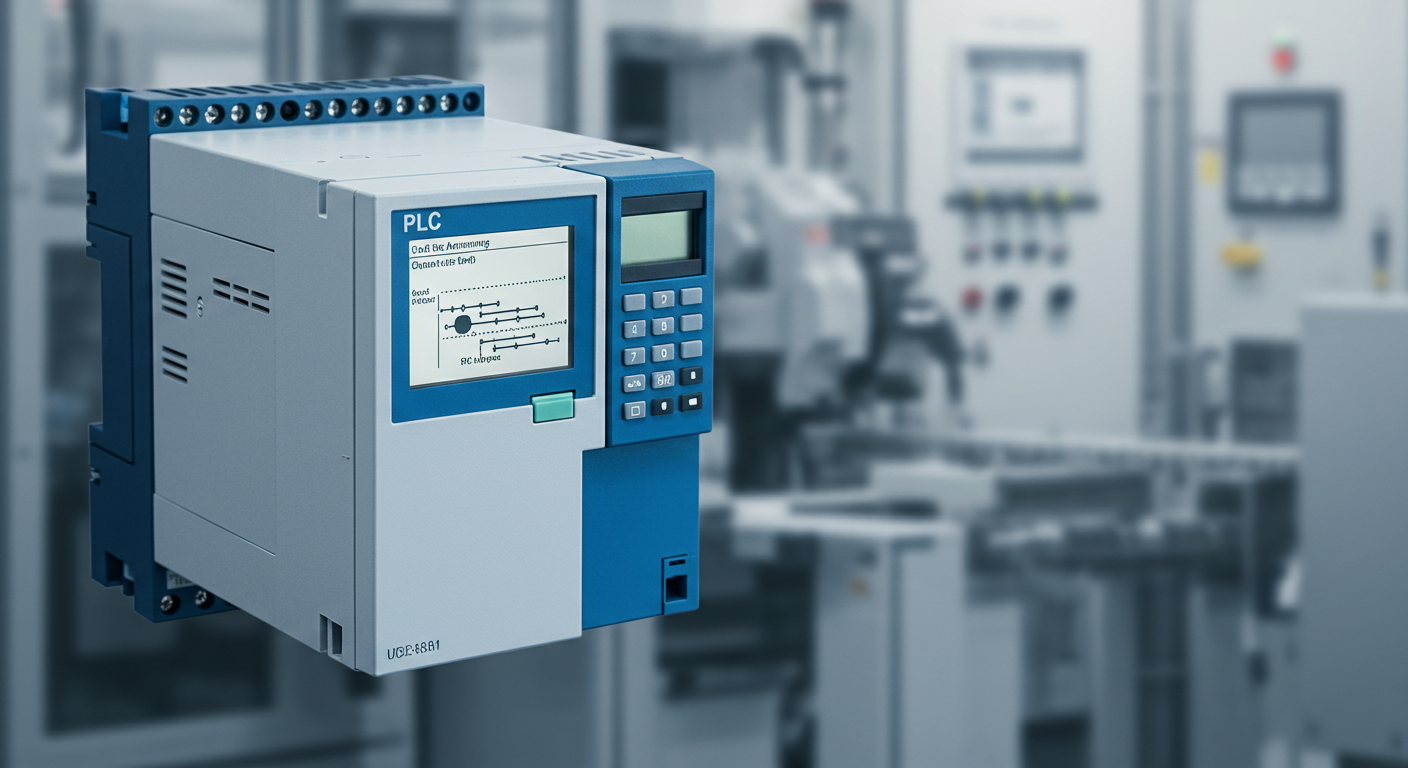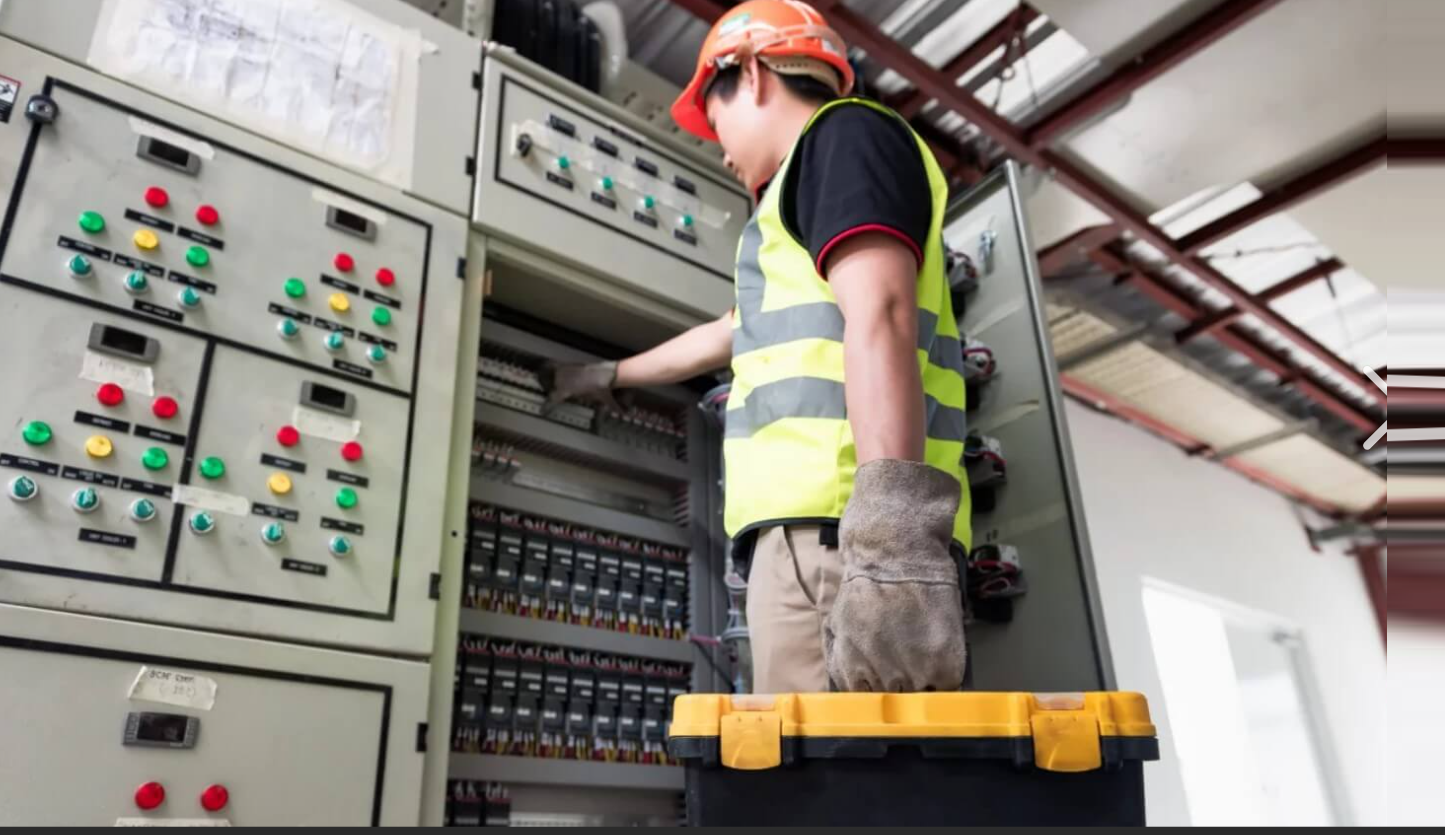
The control panel is what really runs the show on the shop floor. It manages motor starts, safety interlocks, and the PLC logic that keeps your machines moving. That's why fast control panel repair and troubleshooting is so important.
When an industrial control panel fails, the whole system stops right along with it. Finding and fixing the problem is the only way to keep your production schedule moving and your workers safe.
Whether you're facing intermittent faults, system shutdowns, or equipment damage, this guide outlines a systematic approach to industrial control panel troubleshooting. We'll cover everything from power analysis to component upgrades. Following these steps helps ensure that your panels stay in good repair and your floor stays productive.
1. Safety Procedures for Control Panel Inspection
Before opening any electrical panel, you have to think about safety first. Control panels house live wires and stored power, and sometimes hazardous voltages. A simple mistake during a routine check or control panel repair can damage expensive equipment or, worse, seriously injure someone.
The stakes are high. You should never rush this part of the job.
Key Control Panel Inspection Safety Steps
- Lockout/Tagout (LOTO): You must cut the power at the source and lock the switch so that no one can flip it back on while your hands are inside the cabinet. Use a sturdy lock and clear tag. Always use a voltage tester to prove the power is truly off before you reach in.
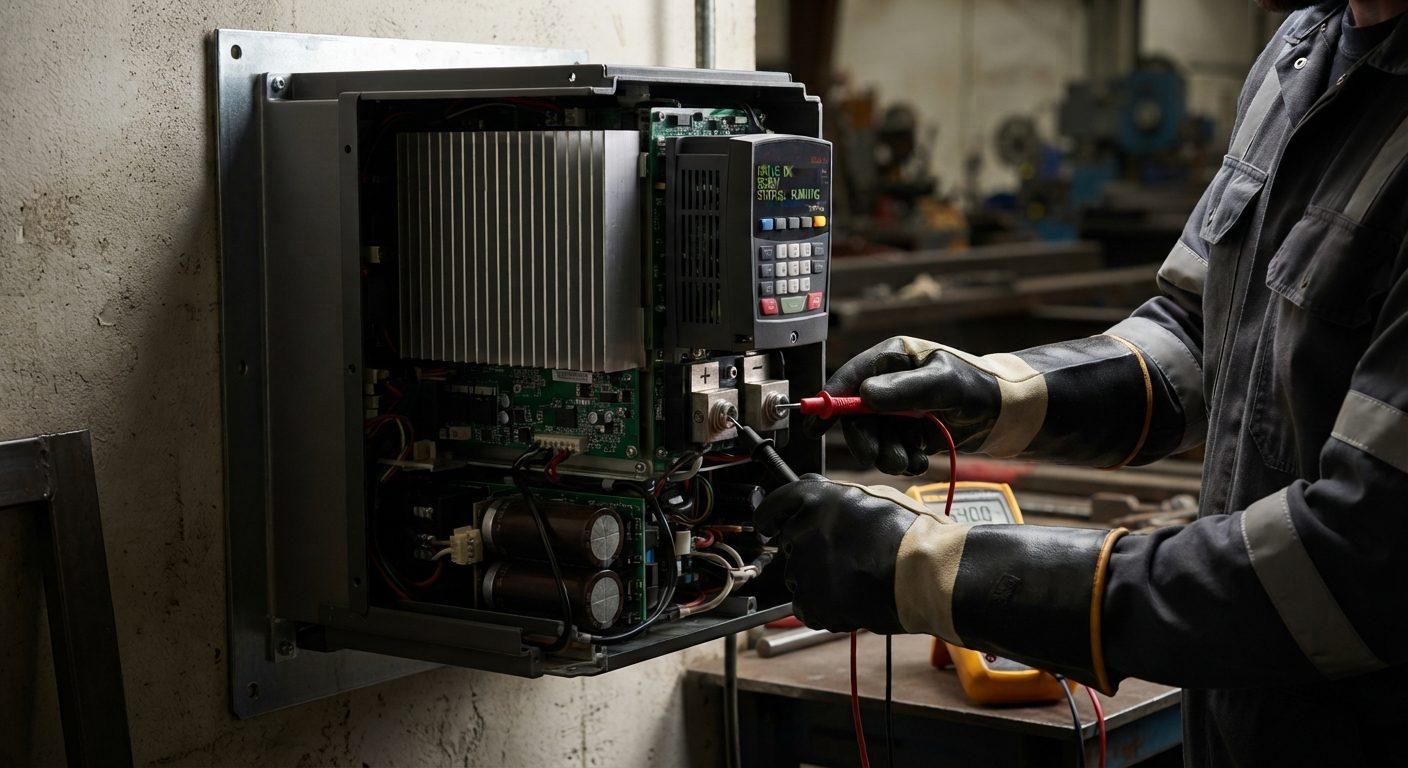
- Use Personal Protective Equipment (PPE) and Insulated Tools: Wear gloves rated for arc flashes, a face shield, and clothes made of fire-rated fabric. Make sure your tools have the right insulation so they won't conduct a spark if they bump into a terminal.
- Check Your Voltage Meter: Test with a multimeter on known live circuits first, then check the panel. This proves your tool is working properly. If the meter is broken and shows zero on a live line, it could be a serious mistake.
- Discharge Stored Energy: Some parts, like motor drives or capacitors, retain electricity like a battery. Even after the power is off, they can still give you a shock. Give the system plenty of time to bleed off that energy or safely drain it manually.
Follow CSA Z462 or NFPA 70E guidelines for arc flash and electrical safety. These standards are there to protect you.
Once you are 100% sure the area is safe and the power is off, you can begin the troubleshooting process step-by-step.
2. Power Distribution and Circuit Protection Analysis
When troubleshooting a control panel, the power is usually the best place to start. A bad power supply, blown fuse, or tripped breaker can shut down an entire system.
Steps for Power and Protection Diagnosis
Start at the Main Power Feed:
- Verify correct voltage (e.g., 480V, 240V, 120V) using a calibrated multimeter.
- On a 3-phase panel, check that all three voltage lines are balanced and consistent.
Check Circuit Protection Devices:
- Check for tripped breakers or blown fuses.
- Use a thermal camera or touchless IR thermometer to see if any fuses or disconnects are getting too hot while the system runs.
- Always check that the fuses are the right types and have the correct rating for the application (e.g., time-delay vs fast-blow).
Inspect Power Distribution:
- Tighten terminals and lugs on busbars and distribution blocks.
- Look for signs of arcing, heat damage, or discoloration.
Proper voltage and protection are the foundation of the whole system. If the power looks good and the levels are steady, you can move on to the smaller control wires and switches.
3. Relay and Contactor Testing Procedures
Relays and contactors are the hard-working parts that actually flip the switches inside the control panel. Over time, the moving parts inside them wear out, especially under inductive loads.
Symptoms of Relay/Contactor Issues
- Motors not starting
- Random control failures
- Contacts welded open or shut
- Audible chattering or buzzing
- Burnt or pitted contacts
How to Test Relays and Contactors
- Visual Inspection: Look for burned or melted plastic housings, dust buildup, or discoloration.
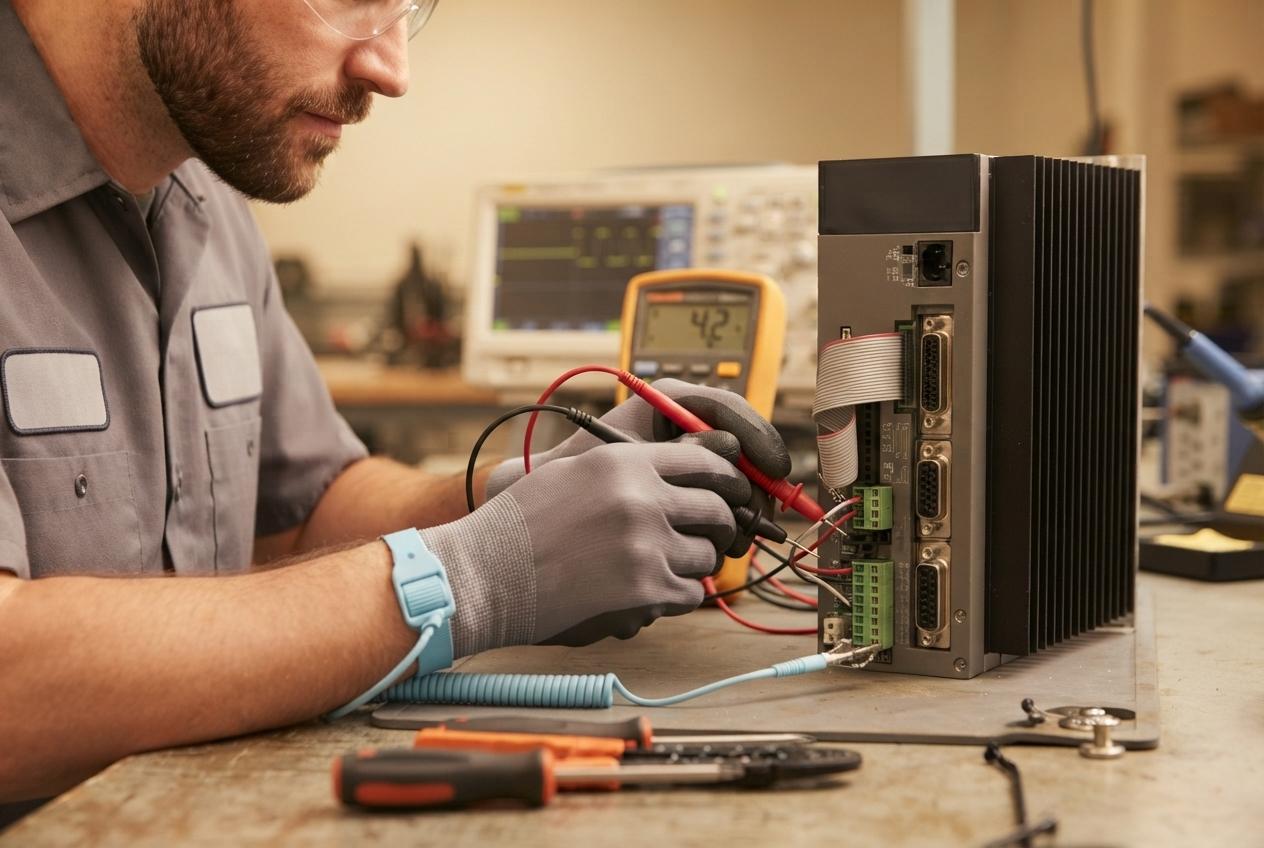
- Coil Test: Measure coil resistance with a multimeter. Open or very high resistance indicates a failed coil.
- Contact Test: Use continuity mode to check NO and NC contacts with and without the coil receiving power.
- Voltage Drop Check: Power the contactor and measure across the contacts. A drop of more than 1V indicates contact wear.
- Mechanical Actuation Test: Manually push in the contactor armature to test movement and spring return.
Replace any relay or contactor that shows signs of arcing, sticking, or erratic performance.
4. Wire and Connection Integrity Assessment
Even with good power and switching, bad wiring or loose terminals can cause huge problems. Constant vibration, heat, and the shop environment will naturally make connections break down as time goes on.
Inspection Techniques
- Tug Test: Lightly pull on wires at terminals. If anything feels loose or the wire was poorly crimped, you need to strip it back and terminate it again.
- Visual Check: Look for broken insulation, cracked ferrules, or discolored terminals.
- Continuity Testing: Use a multimeter to make sure the signal paths are clear, especially for intermittent faults.
- Wiggle Test: While the power is on, gently move wires to simulate vibration. Watch for signal loss or contact bounce.
- Torque Check: Use a torque screwdriver to tighten the terminal screws to manufacturer specifications.
Pro Tip: Label the wires while you are doing a control panel repair or diagnostic. This will make things easier to find the next time you have to look inside the panel.
5. Overheating and Component Failure Identification
Excess heat is one of the top reasons parts fail early in electrical panels. When a cabinet gets too hot, the parts inside will eventually burn out.
Signs of Overheating
- Melted or warped plastic on relays or contactors
- Burnt smell near breakers or power supplies
- Discolored copper or terminal screws
- Drive tripping on overtemp faults
- Fans or vents that aren't moving air inside the enclosure
Tools for Diagnosis
- Thermal Imaging Cameras: Show you hot spots so that you can see a problem before a part actually fails.
- Temperature Loggers: Useful in enclosures with cycling loads.
- IR Thermometers: Good for spot-checking fuses, busbars, or drive heatsinks.
Common Causes
- Blocked or dirty cooling fans and vents
- Overloaded components or undersized wire
- Poor airflow in crowded enclosures
- The shop floor itself being too hot or poorly ventilated
Corrective Actions
- Put in new fans, or add more ventilation louvres to let the box breathe
- Replace overloaded devices or install heat-rated components
- Rearrange components to optimize airflow
6. Upgrading Obsolete Control Panel Components
Many facilities rely on legacy systems that were put in decades ago. Even if these old panels still work, sourcing parts and ensuring compatibility with newer equipment becomes more difficult and risky as time goes on.
When to Upgrade
- Obsolete PLCs, drives, or HMIs
- No longer available contactors, relays, or safety devices
- Unclear or missing schematics/documentation
- Excessive panel heat or space constraints
- Recurring failures despite regular maintenance
Upgrade Strategies
- Perform a baseline audit of all installed components with part numbers and firmware versions
- Choose replacement parts from current product lines with long-term support
- Plan upgrades during shutdowns or low-production windows
- Ensure that panel layout, wiring, and safety labeling are updated during retrofit
- Backup all control logic, parameter sets, and HMI configurations before swapping components
Using newer parts helps you avoid sudden stops, makes the system more reliable, and makes a control panel repair much simpler the next time something goes wrong.
7. Code Compliance and Safety Standard Updates
Even a well-maintained panel can pose risks if it doesn't comply with current electrical codes and safety standards.
Common Compliance Concerns
- Wires that aren't labeled or properly color-coded
- No main disconnect switch within easy reach of the panel door
- Ground wires that are too thin or missing
- No clear warning signs about the danger of arc flashes
- Outdated or missing CSA/UL certification markings
Relevant Standards to Monitor
- NFPA 70 (NEC) — National Electrical Code
- CSA C22.1 — Canadian Electrical Code
- UL 508A — Industrial Control Panels
- NFPA 79 — Industrial Machinery Standards
- OSHA/ESA — Occupational safety regulations
Bringing Panels Up to Code
- Schedule a code compliance audit during planned maintenance
- Update documentation, panel layouts, and component certifications
- Re-label panels with accurate wiring diagrams and hazard warnings
- Stay on top of the rules related to machine safety and automation integration
Following these rules keeps your shop legal, but more importantly, it keeps your people safe and makes sure you are covered by your insurance.
A Smarter Way to Troubleshoot Control Panels
Problems with a control panel don't have to mean that your whole day is ruined or that you have to spend a fortune on a complete rebuild. By using a clear, step-by-step plan, you can find and fix most issues quickly. This stops small glitches from turning into massive failures that shut down your entire shop.
Control Panel Troubleshooting Summary
- Always begin with strict safety protocols
- Verify power and circuit protection health
- Inspect and test relays, contactors, and switching devices
- Check every wire and screw to make sure nothing has vibrated loose
- Identify and eliminate overheating risks
- Know when it's time to upgrade obsolete components
- Make sure your panels follow the current safety and electrical codes
Need Control Panel Repair or Service in Ontario?
KAIN Automation provides fast, professional control panel diagnostics and repair services for industrial clients across Ontario. From relay testing to full panel upgrades, we ensure your systems are safe, compliant, and built to last. Contact us today for a consultation or emergency support.